

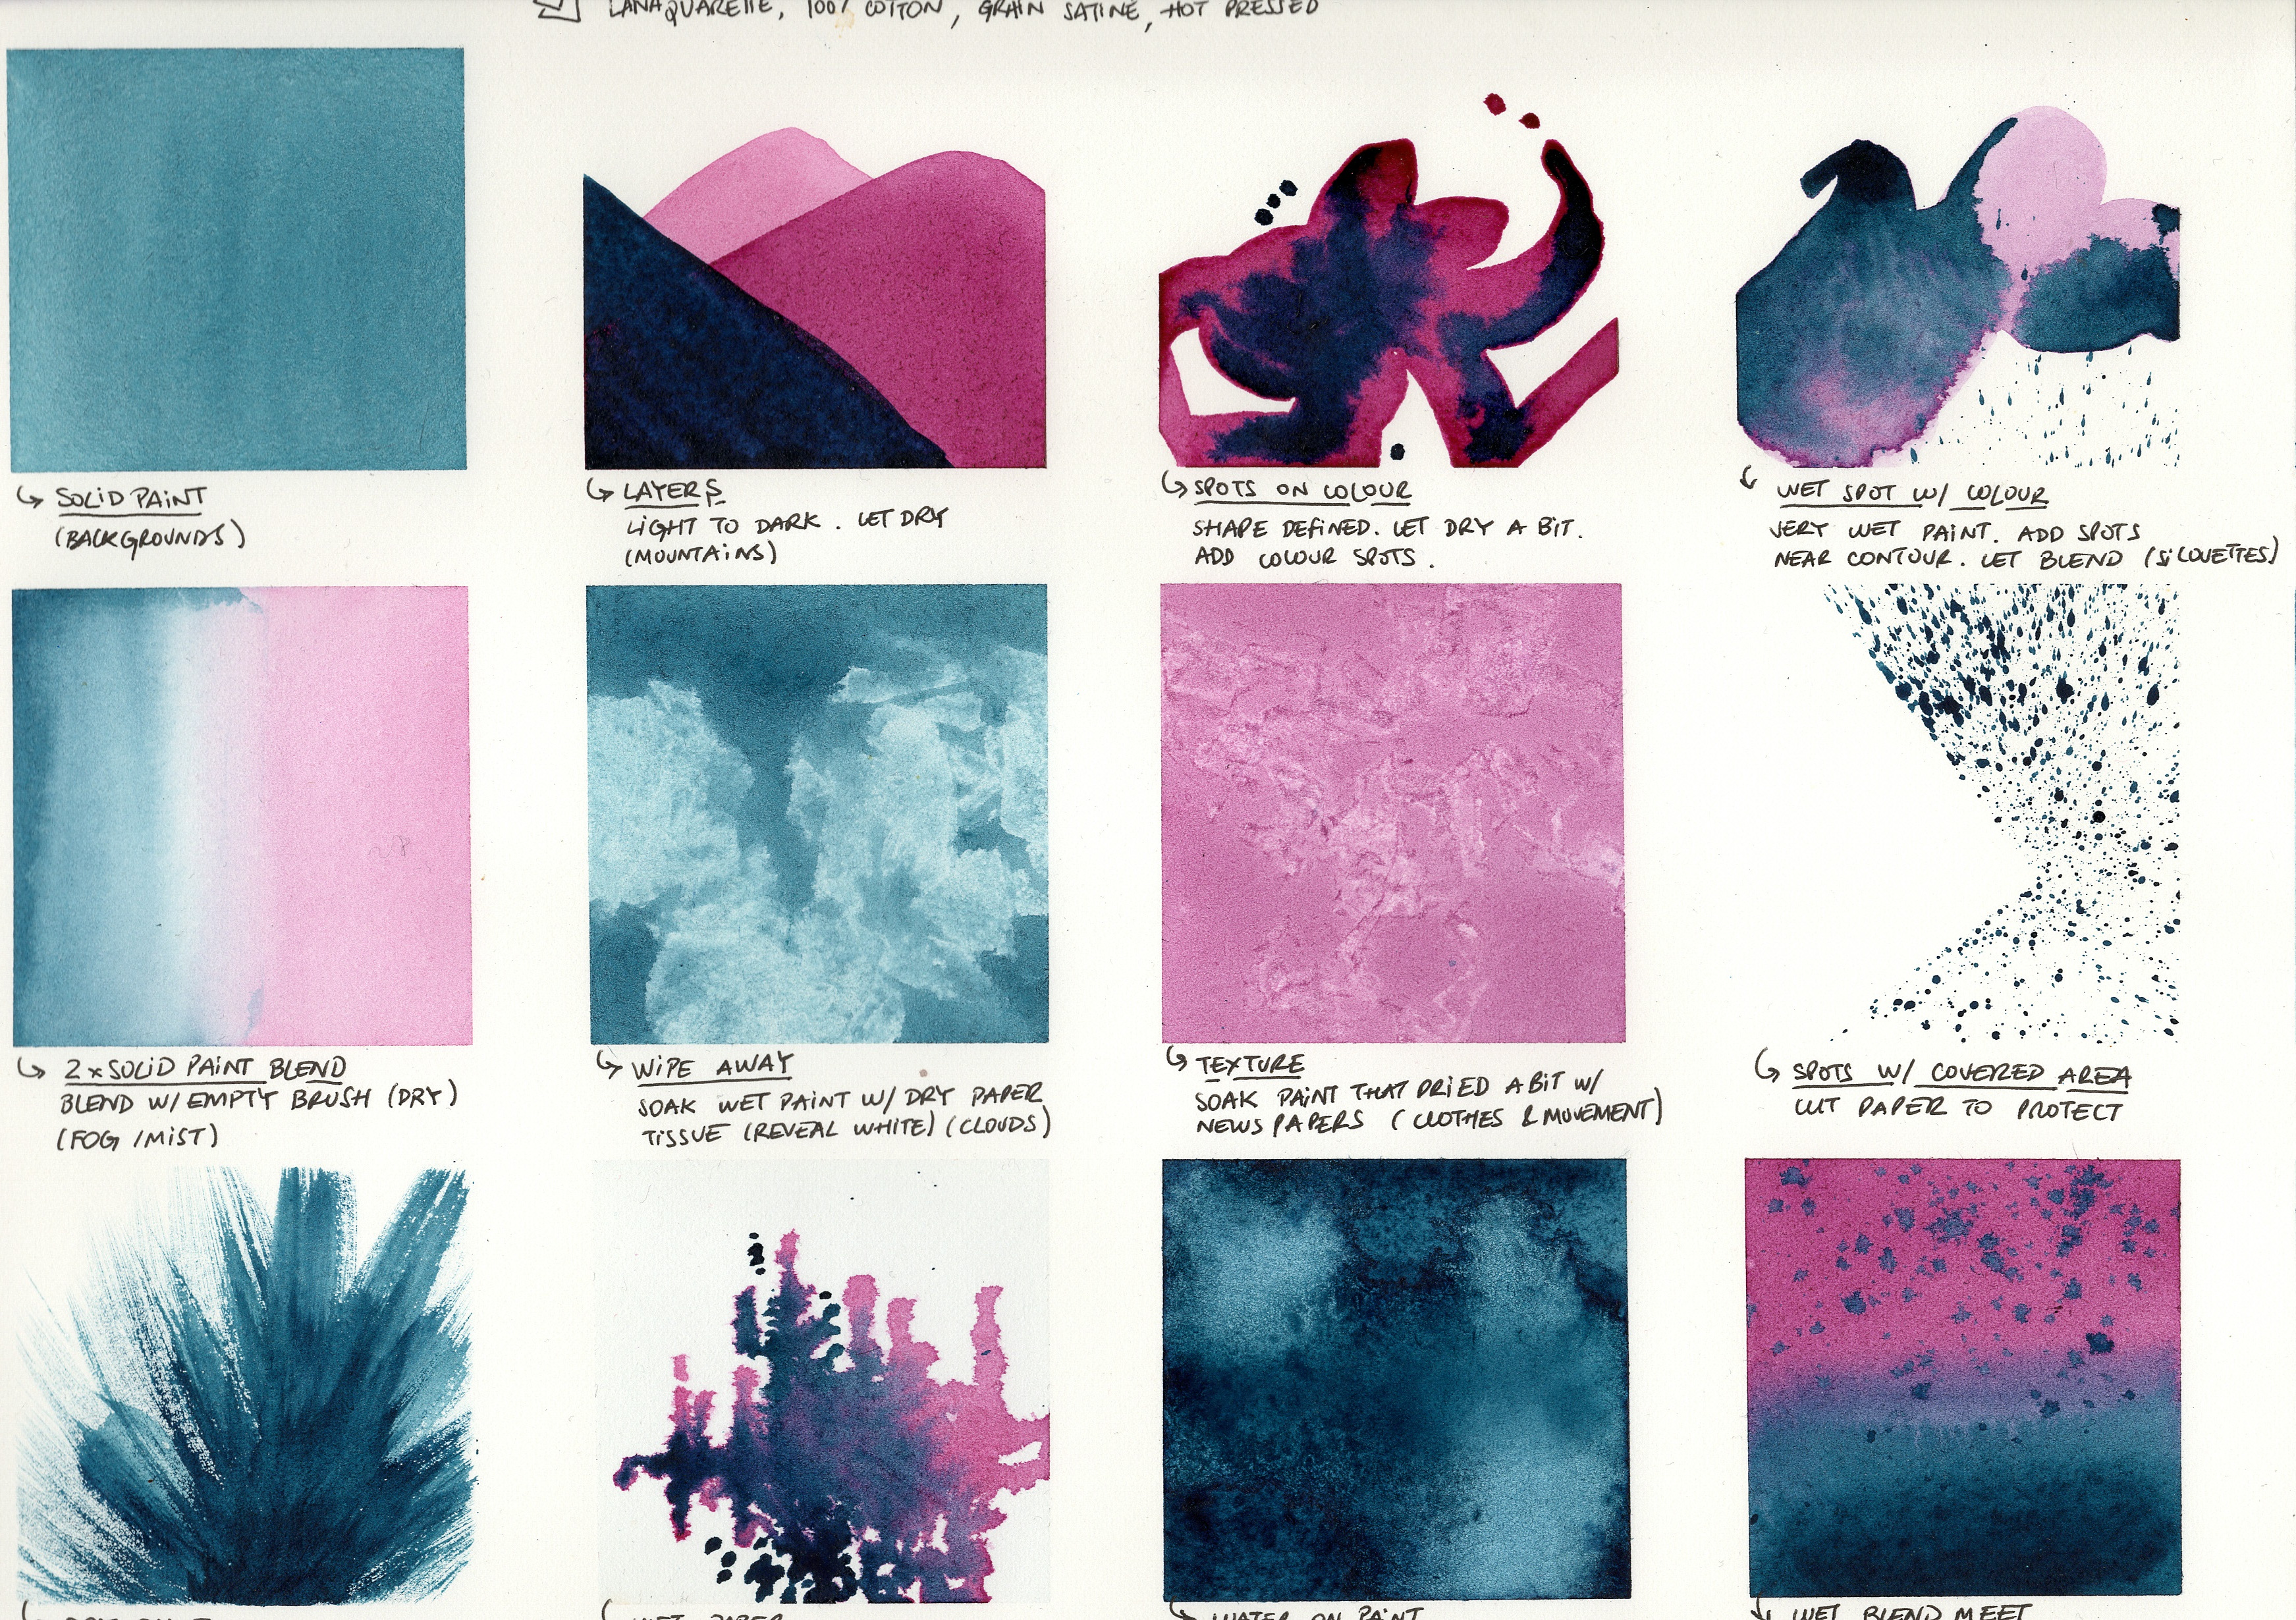
Exercise to explore the different expressions of watercolor.
It’s an opportunity to test new paper and watercolor paint, creating a go-to glossary for future illustrations.
Tips
- Use an easy-to-peel washi tape to create a 4×3 grid.
- Use a hairdryer to dry faster and to remove the tape for easy peeling when done.
- Enjoy!
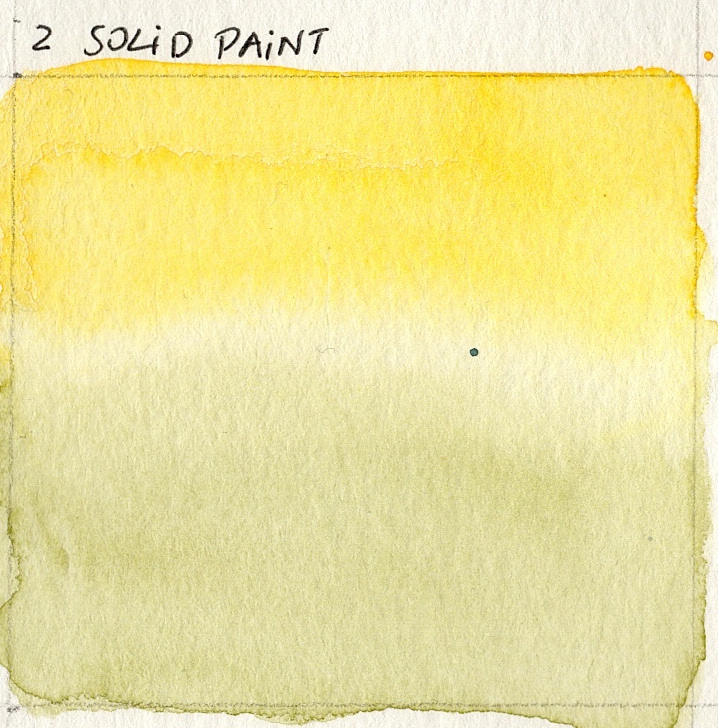
1. Solid color
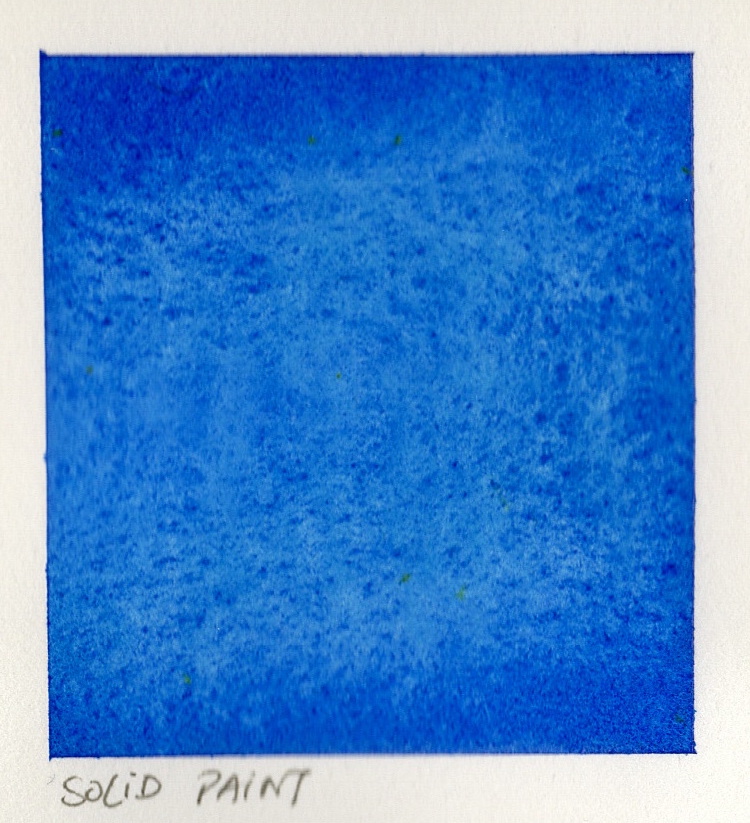
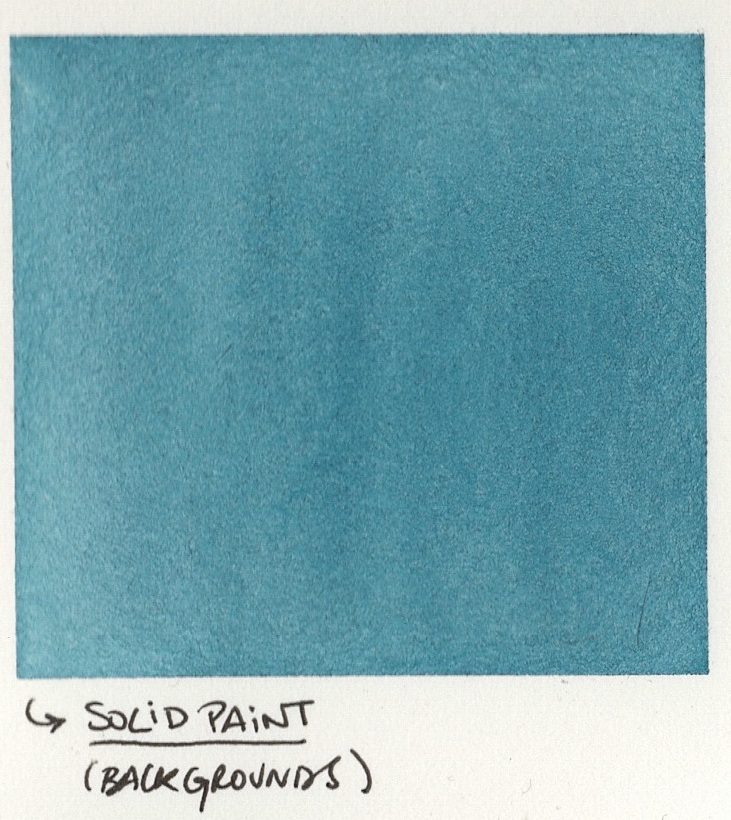
- Apply a generous amount of solid watercolor paint, keeping the surface wet.
Use for: Creating solid backgrounds.
2. Layers
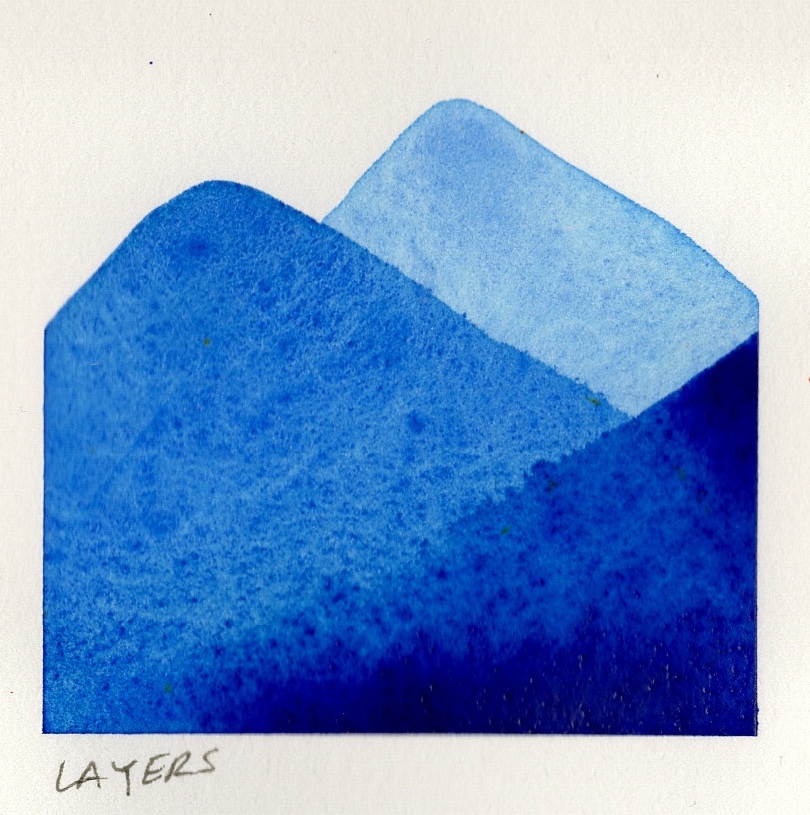
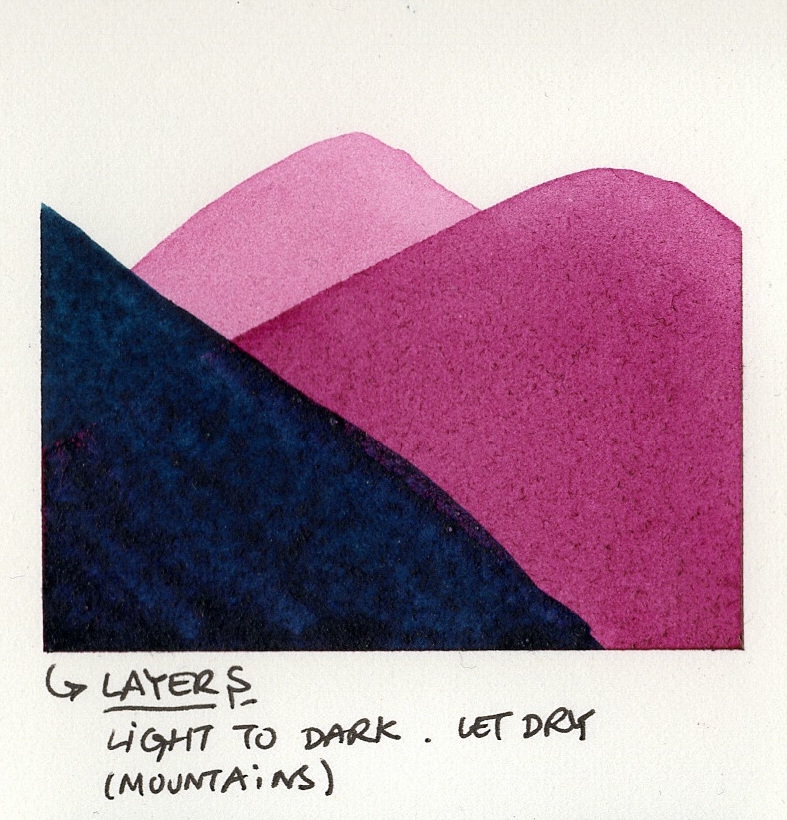
- Start with a light, watered-down paint. Allow it to dry completely. The first layer is always lighter, in the background, far away.
- Apply the second layer darker, adding depth and perspective. Let it dry fully.
- Add a third layer.
Use for: Mountains and enhancing landscape perspective.
3. Spots on color
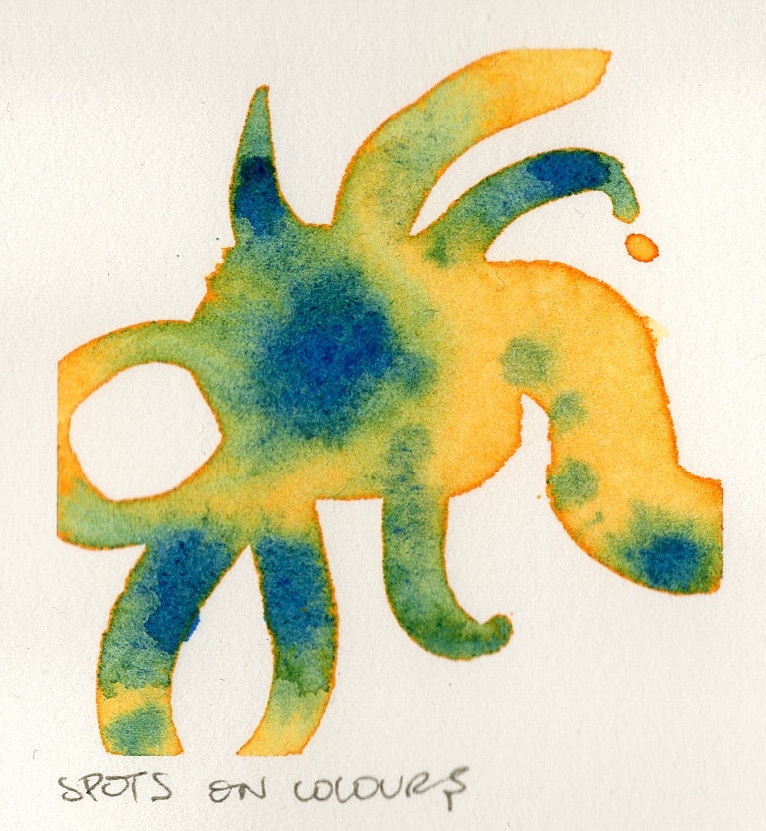
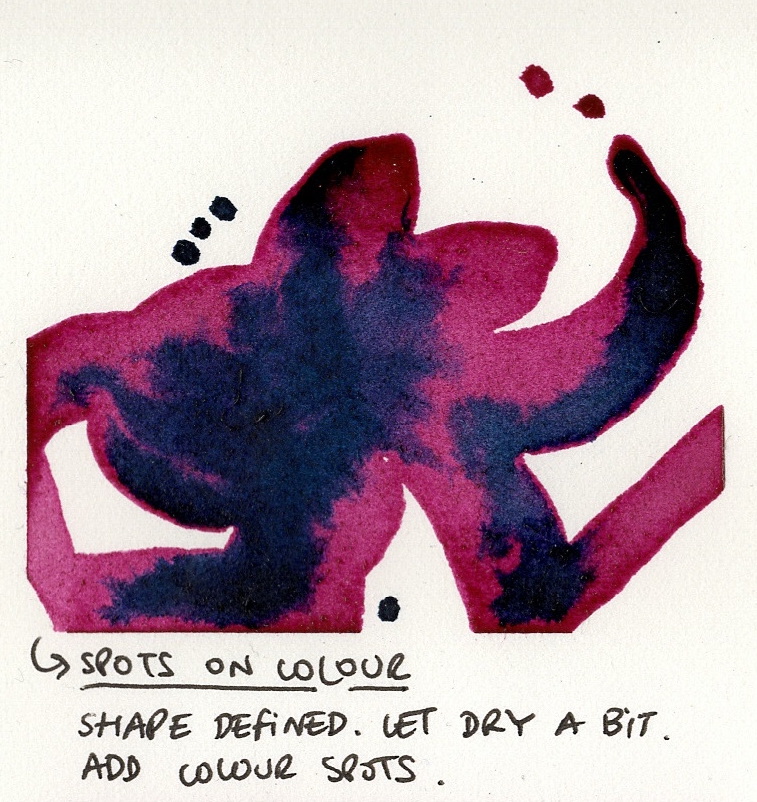
- Create a shape with watered-down paint. Let it dry.
- With a different color, add spots (small, concentrated areas of paint).
- Depending on the amount of water and drying time, these spots will create a smooth overlapping effect.
Use for: Mimicking animal skins
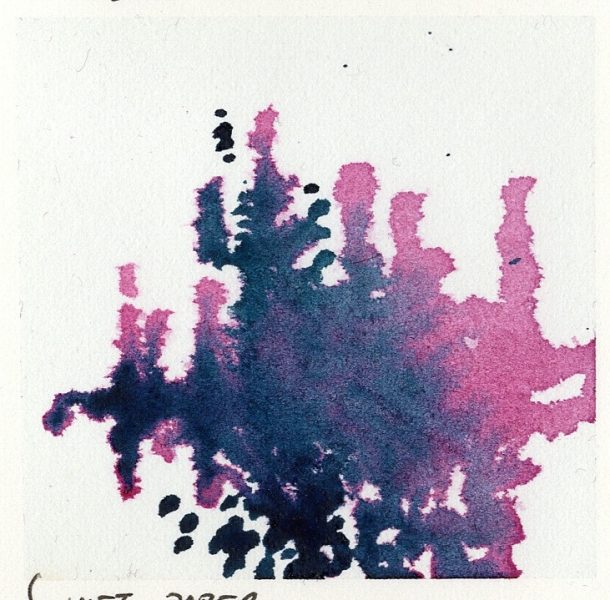
4. Wet color spots
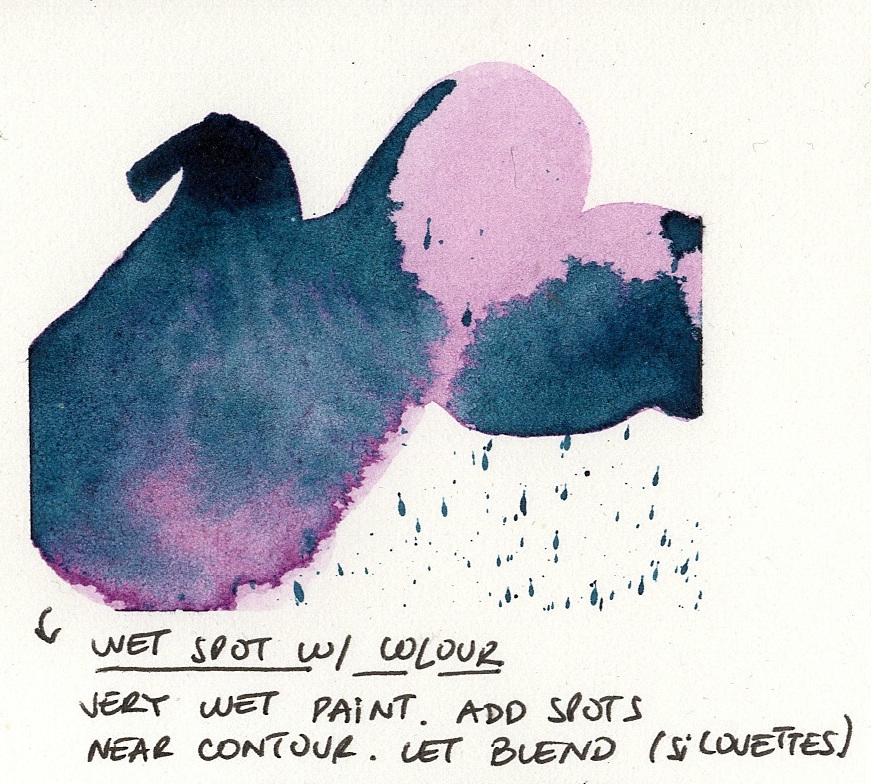
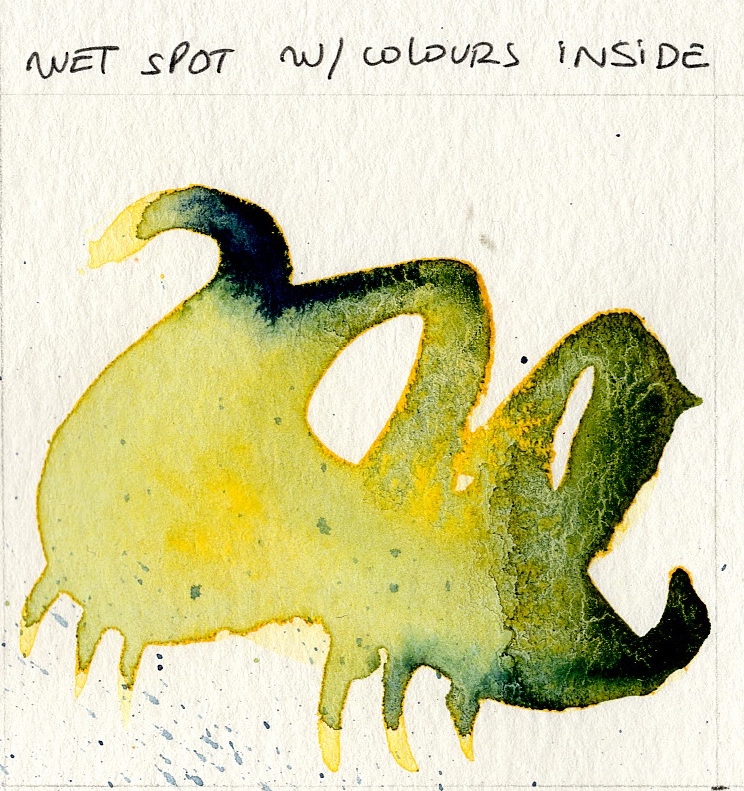
- Create a shape with sharp details and wet watered-down paint.
- With a different color, add spots, and let it freely blend.
Watch the paints blend and create a feathery effect. The first layer will define the space where the second paint can go.
Be mindful of the quantity of water, as it can crumble the paper.
Use for: Silhouettes.
5. Soft blend of two solid colors
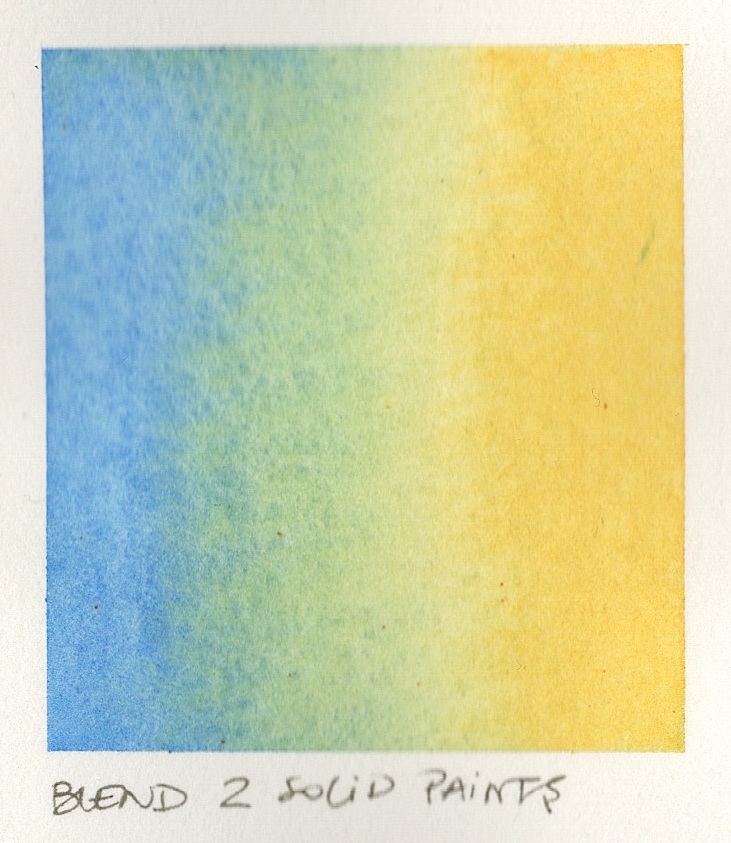
- Apply two different watercolor paints, each one starting on the opposite side. Let them touch.
- Blend with an empty dry brush (no water, no paint).
Use for: Foggy or smooth sky transition effects.
6. Wiping away
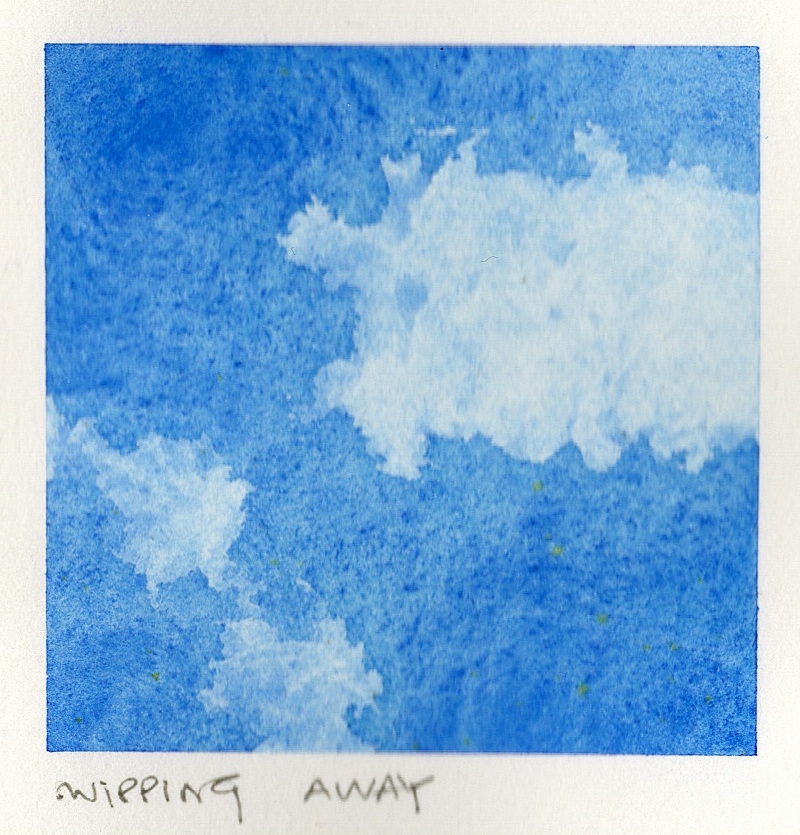
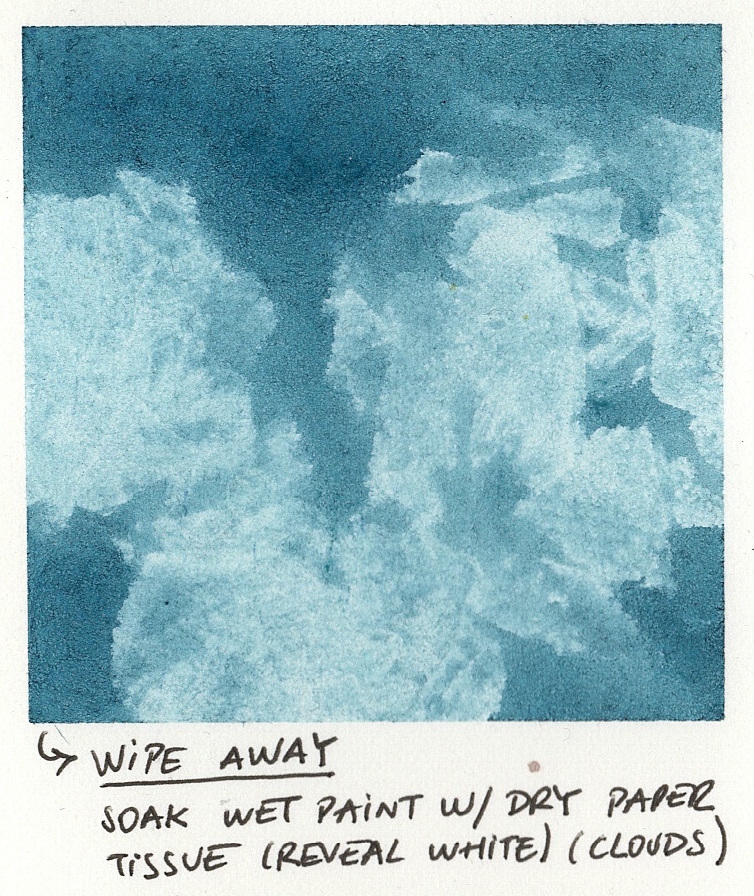
- Apply very wet watercolor paint.
- Use a dry paper tissue to soak areas, revealing the paper underneath and creating soft random shapes.
Use for: Clouds.
7. Texture
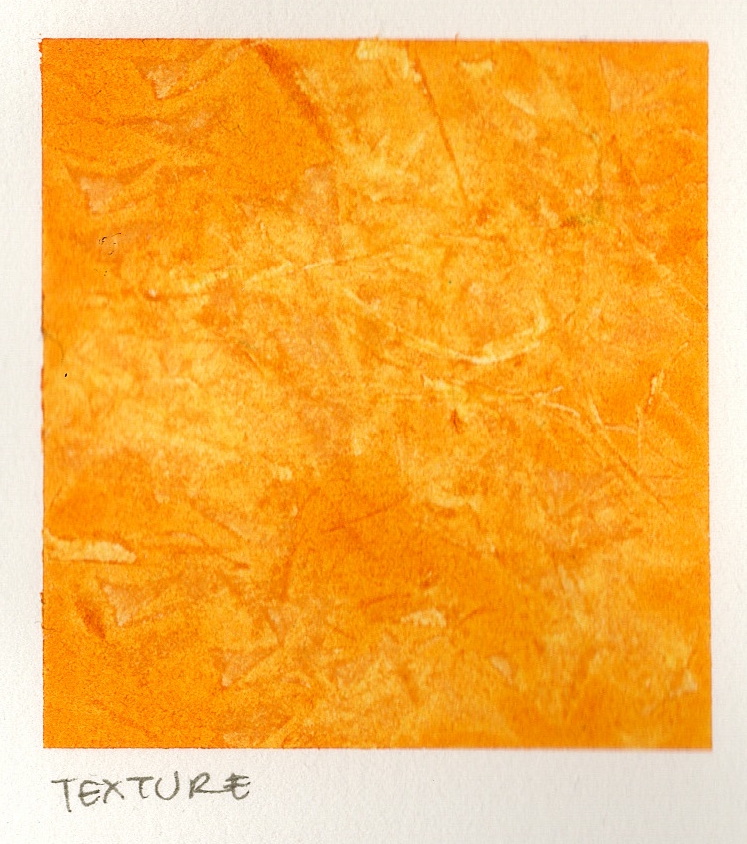
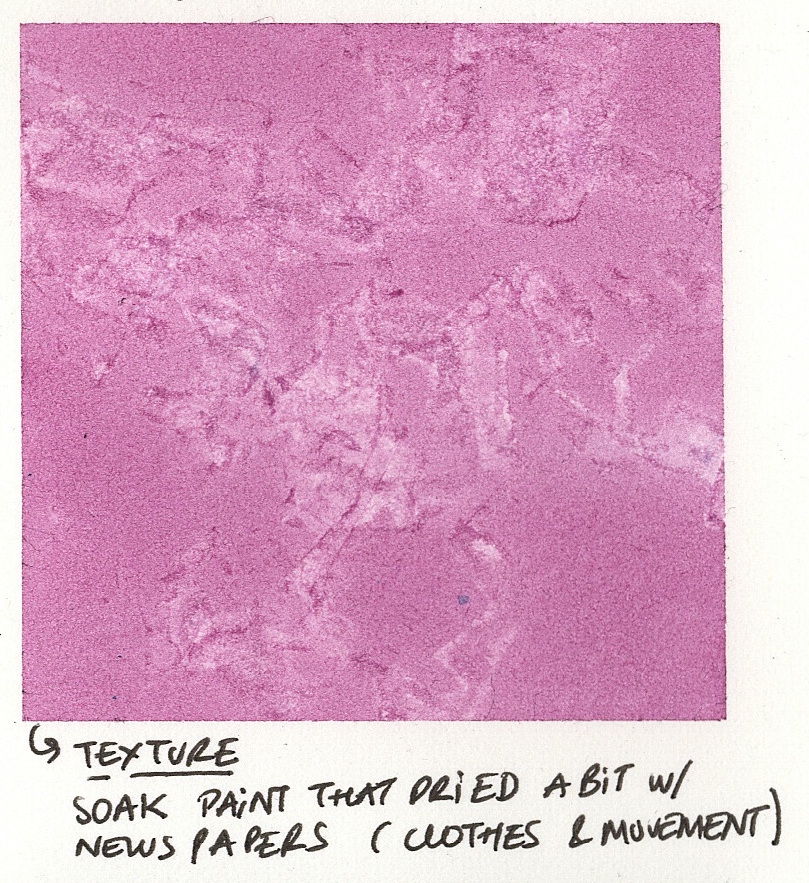
- Apply very wet watercolor paint and allow it to partially dry.
- Soak areas with newspaper to create a sharp crack effect.
Use for: Clothes and movement.
8. Spots with brush
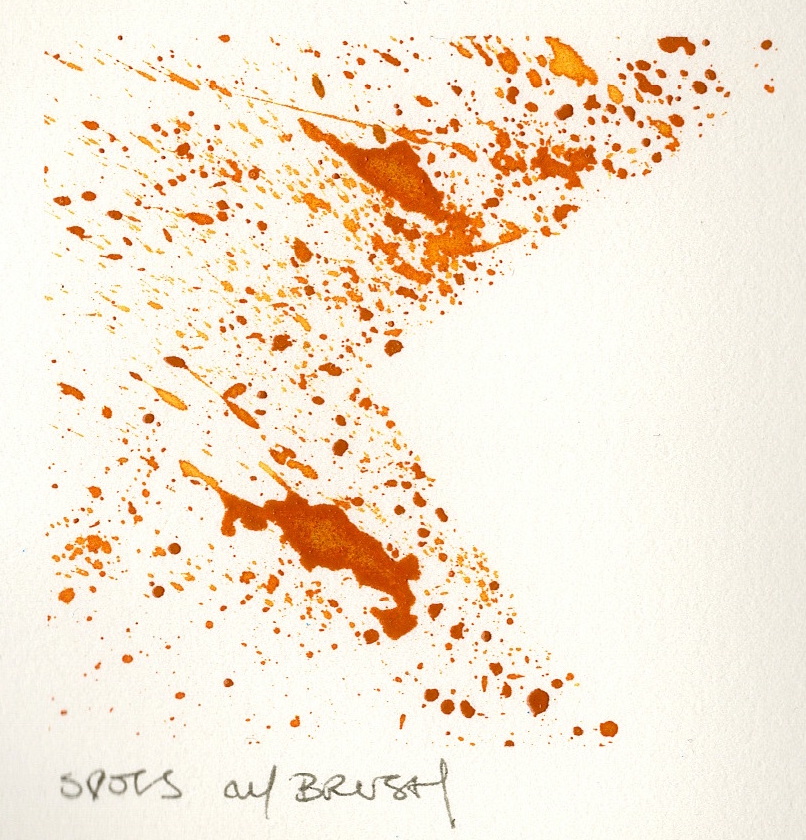
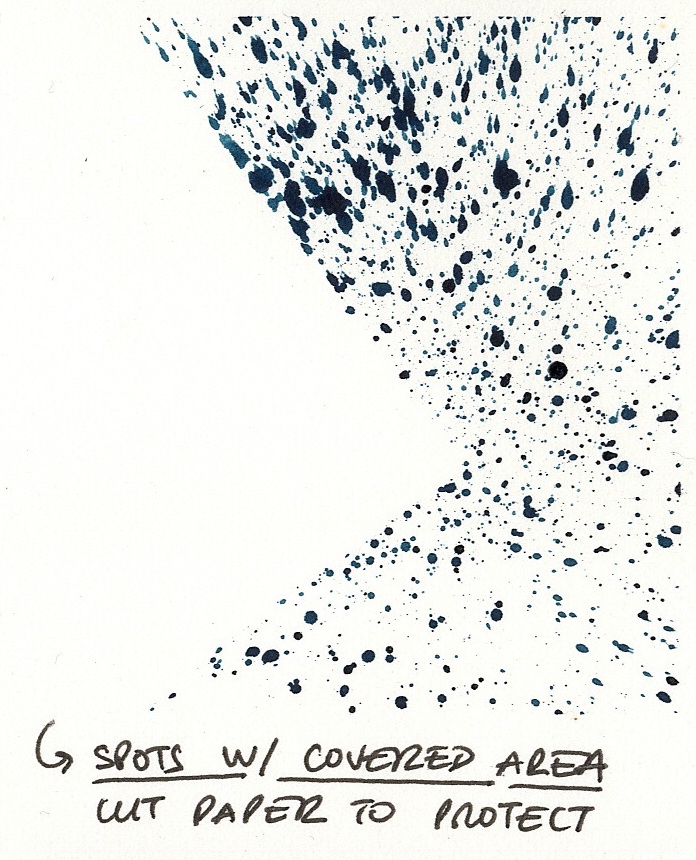
- Cut a piece of paper to mask the area that will not get paint.
- Splash paint with a brush. Use your finger horizontally and tap it with your brush. A toothbrush also works.
Use for: Creating textured backgrounds.
9. Dry paint brush
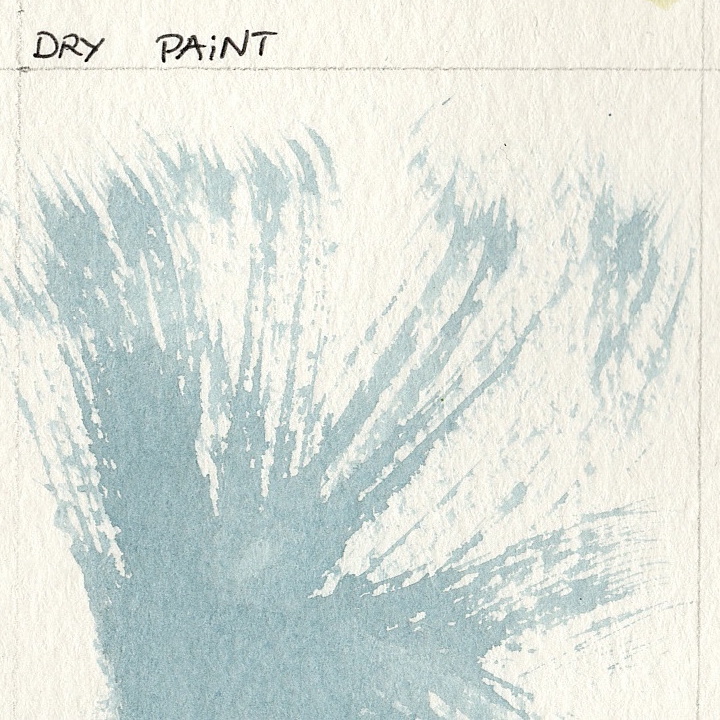
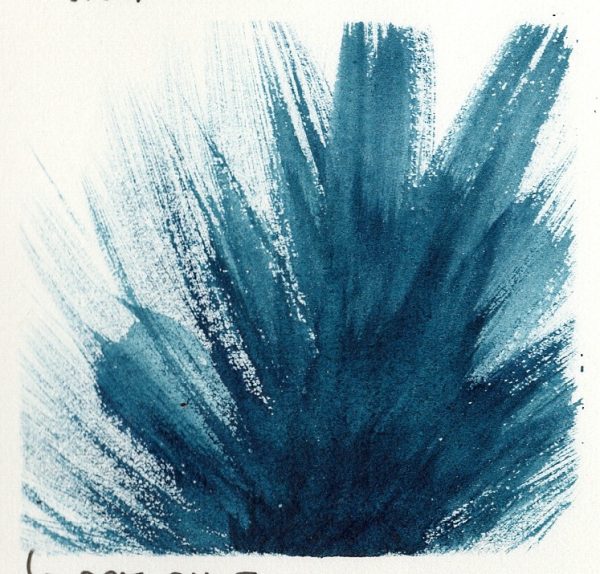
- Use paint on a dry brush. Do not use too much water, use solid paint.
- Dry the brush slightly on a separate napkin, then open the brush fibers before applying.
Use for: Grass and fur.
10. Wet paper
- Wet the paper with clear water.
- Let it dry, but not 100%. (It will take some time to dry.)
- With a different color, add spots to create blurry, non-detailed shapes.
Do not use too much water with the new color. It will blend very smoothly.
Use for: Background elements, like trees at a distance.
11. Water on paint
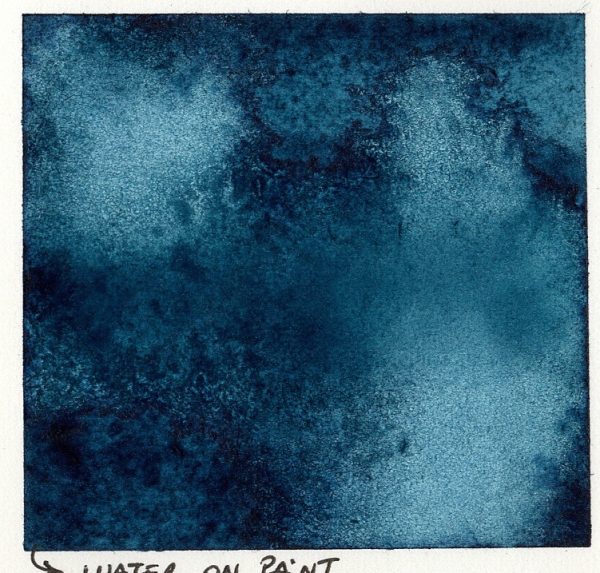
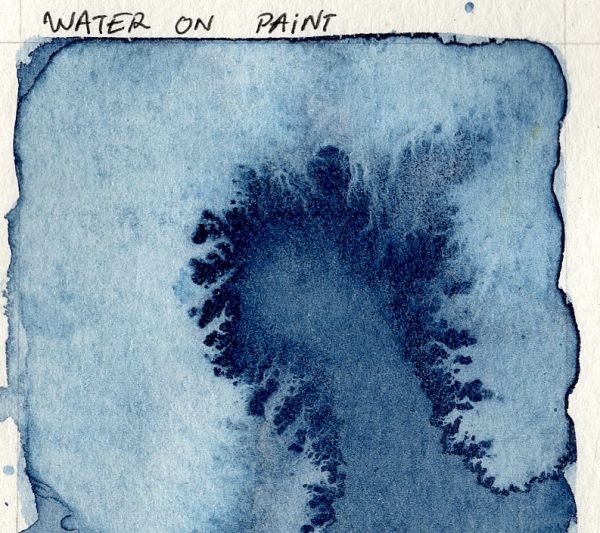
- Watercolor solid wet paint (prefer a dark shade).
- Wait a few seconds… when the paint is still wet, drop clean water drops.
Tip: For a more dramatic effect, add grains of salt to the water drops. This will absorb and distort the cleared-up areas.
Use for: Underwater effect.
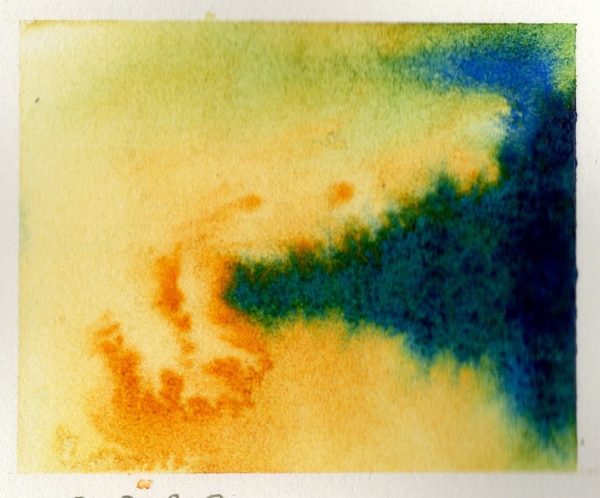
12. Wet colors meet
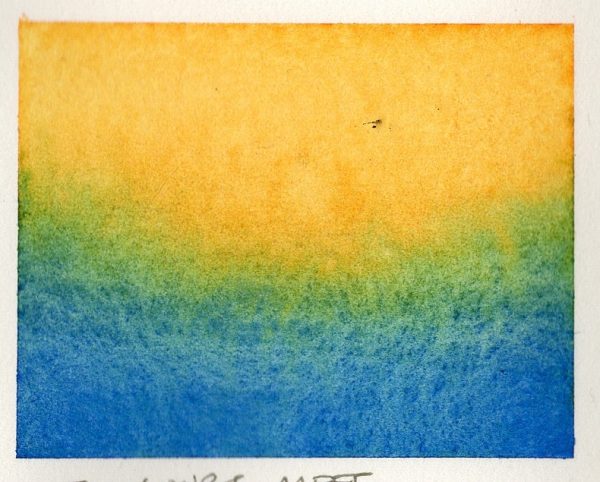
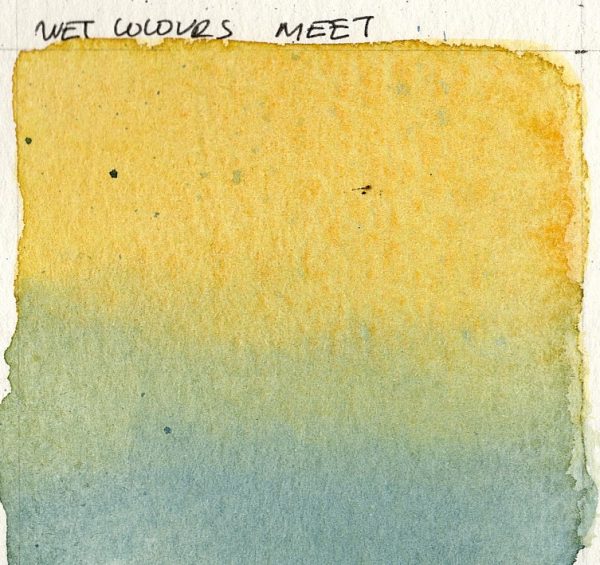
- Two different very wet watercolor paints, each one starting on the opposite side.
- Allow them to blend naturally.
Use for: Backgrounds.
Enjoy the unpredictable and be surprised by the effects. This exercise is a learning opportunity. An exercise in letting go.
Tag me on Instagram and share your results!
